HOW TO BUILD A BRICK FAIRY HOUSE
Check out our 10 FAVOURITE PLACES for finding the CHEAPEST fairy garden supplies!
I’ve wanted to build a DIY faux brick fairy house for a while, but I had a bad experience once attempting to use mortar to put stones together (it was just a gross disaster, not worth the time at all), and I figured trying to mortar little tiny bricks together would be similarly difficult.
Fake (styrofoam) bricks are an easy way to make a brick fairy garden house.
(THIS POST MAY CONTAIN AFFILIATE LINKS. YOU CAN READ OUR FULL DISCLOSURE POLICY HERE.)
You can get cute little REAL bricks on Amazon if you’re up for actually using mortar to put them together to build a red brick fairy house, but I wanted SIMPLE.
A couple of months before Christmas, I found these awesome faux bricks and I KNEW they were the perfect thing to build my brick fairy house out of.
They are just painted styrofoam, so they are very light and easy to work with.
Here’s exactly how I used the bricks to make a fairy garden house!
DIY BRICK FAIRY HOUSE
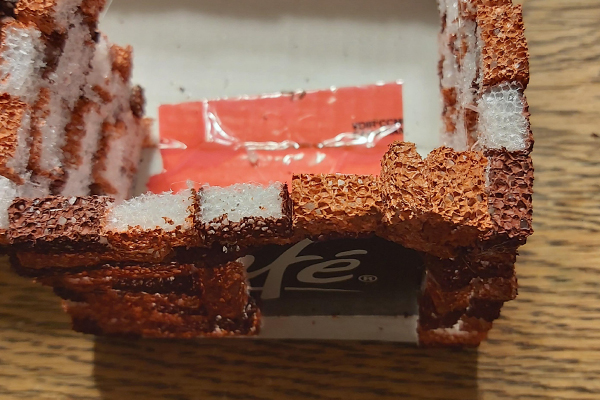
The bricks were a little larger than I wanted though, so I cut each little brick into quarters with a kitchen knife. (It was a bit messy, but not TERRIBLE, and easy enough to vacuum up.)
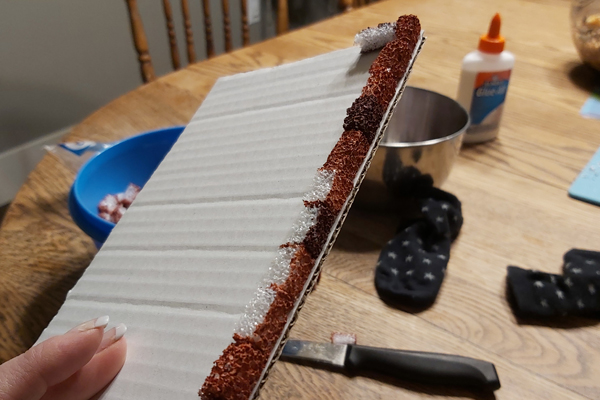
For a base to build the house on, I cut a rectangle out of cardboard, and I just hot glued my bricks directly to the cardboard.
(Note that this tiny house isn’t built from the MOST durable materials for outdoor fairy gardens. I have my finished house outside, and it did just get rained on for three days without deteriorating, but I know it won’t last outside all year round unless it’s on a sheltered porch. This brick fairy house would be PERFECT for an indoor fairy garden. If you really want to build a brick fairy garden house with the intention to leave it outside all year round, I WOULD put the time into real craft bricks and mortar. I will bring this one in when the season is over, and also if there are any terrible storms.)
Because my bricks were cut, they have multiple raw (unpainted) sides, so I was careful to make sure the painted side was always pointing outward. I also tried to mix the colors up a little (there were darker bricks and lighter bricks).
Hot gluing the bricks together was a little tedious; it probably took me about 7 hours over the course of 3 evenings to build up the walls of the fairy house.
I didn’t want the house to be just a plain rectangle, so I used tuck tape to add a second smaller rectangle of cardboard to one end.
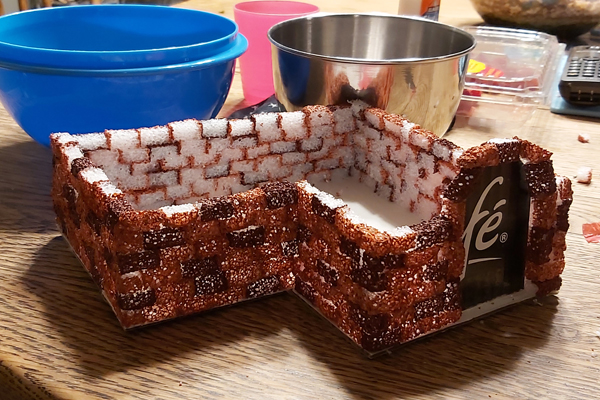
I like to design my houses as I go – I’m not much of a planner… I just cut a door shape out of cardboard and built around it with the bricks.
Where they didn’t want to fit together nicely, I just squashed them and cheated a bit. That was definitely one of the nicest things about building with styrofoam. I’ve built plenty of stone fairy houses before, and stones are far less forgiving!
As you can see, these are extremely wibbly-wobbly fairy house walls, but I figure if fairies were real, they would be wibbly-wobbly wall loving creatures, so I’m ok with that.
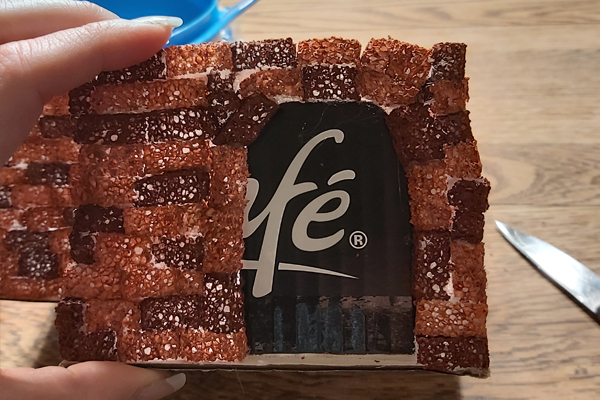
I WAS a little concerned by all the light you could see through the walls, as it showed every flaw (fairies might be wibbly-wobbly things, but I’m sure they don’t want THAT many holes in their walls!). In the end though, it was fine and once the roof is on you can’t see the holes nearly as clearly.
Building a roof is always a little hard for me, because I just struggle to imagine how it should go together…
I left this one up to my sister one day when she and my nieces were over playing in the yard.
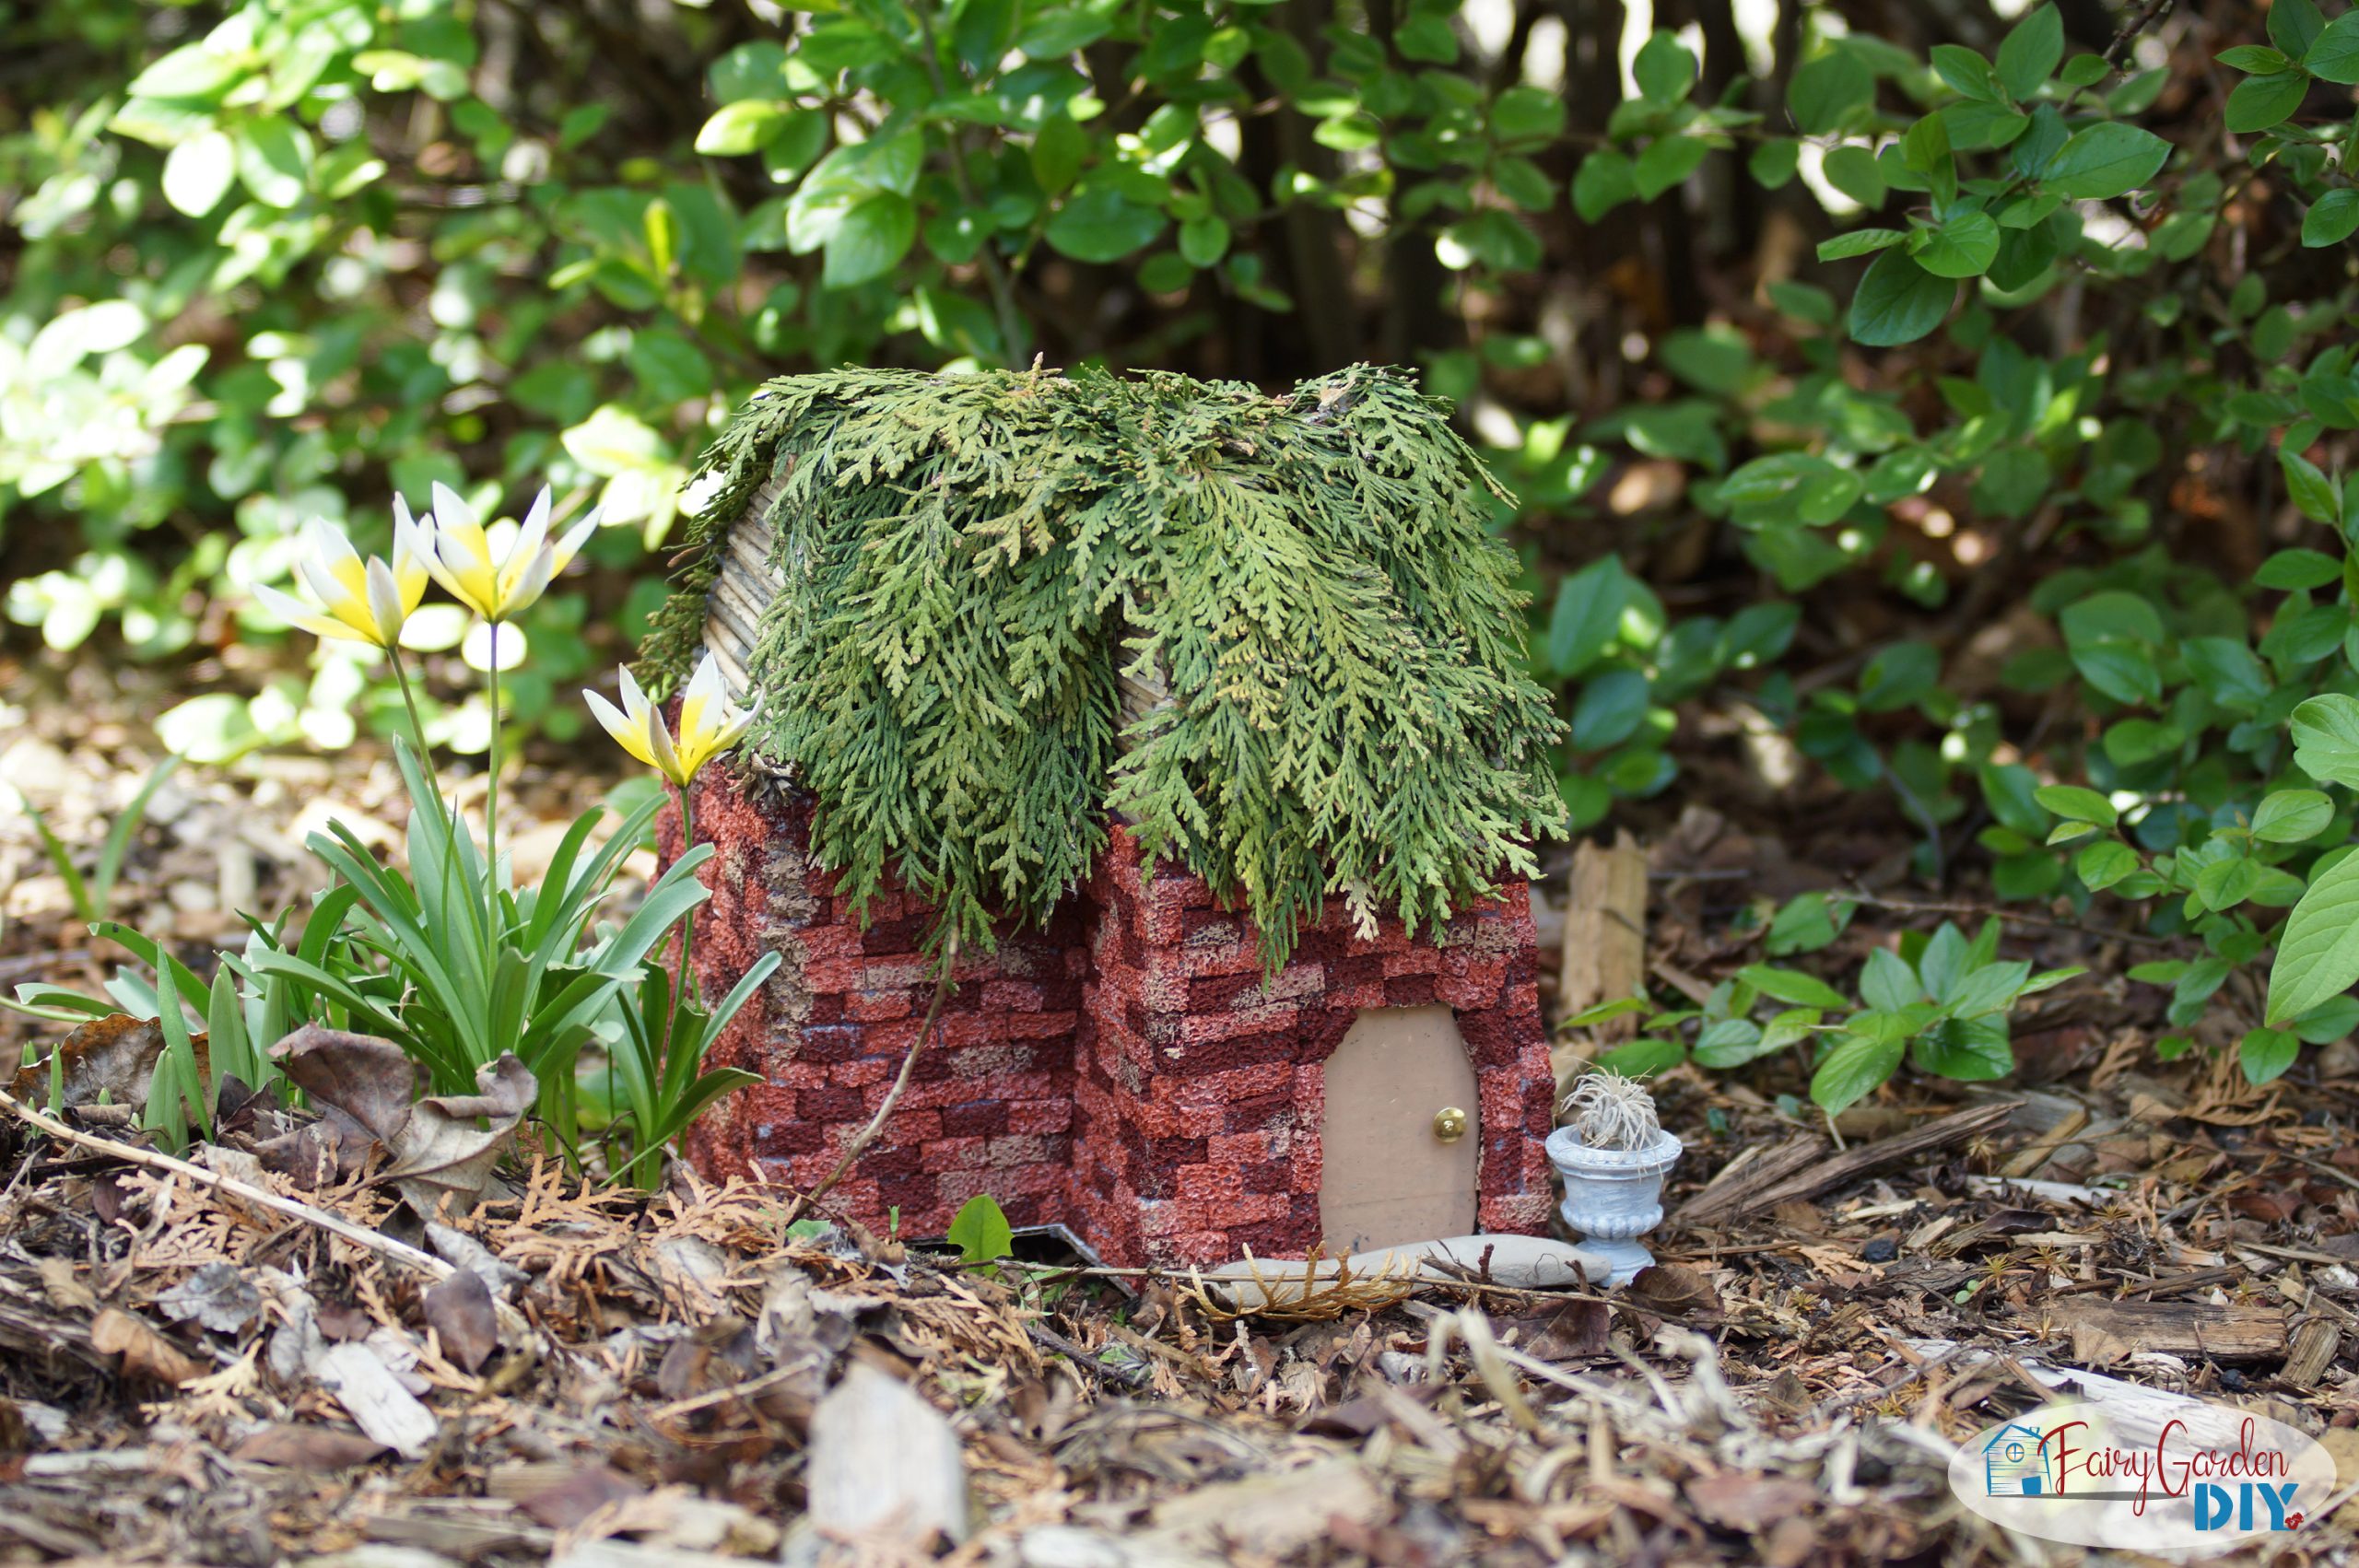
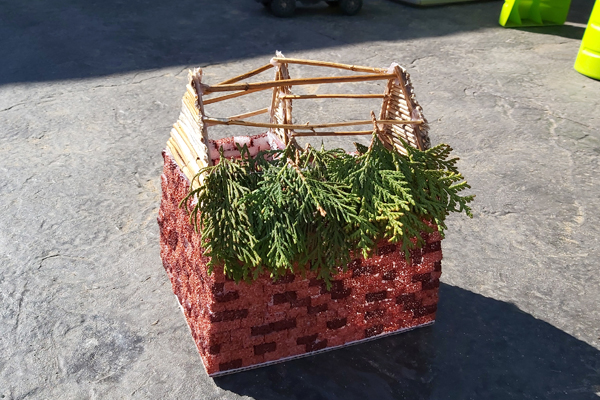
She built gable ends out of some reed-like sticks we found and added “rafters” between them.
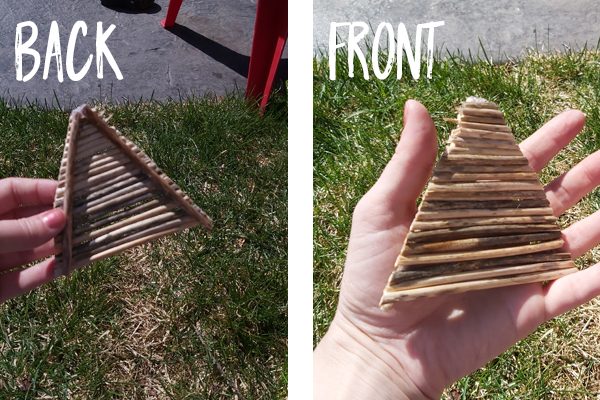
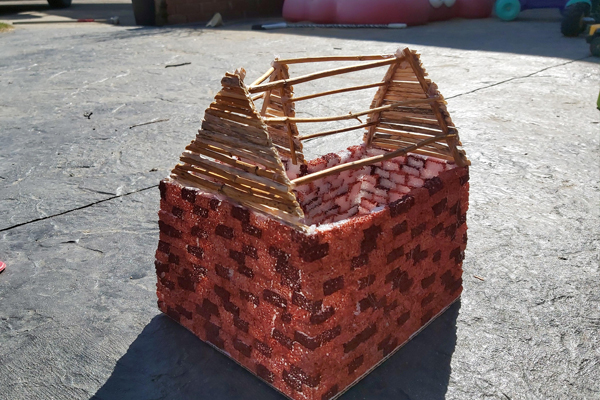
For the roof itself, we hot glued cedar greenery (leaves? braches? boughs?) to the rafters.
This roof is definitely not a LONG term roof. The cedar will turn brown over time (but it will take a while).
I generally like to use more long term roofing materials for fairy houses, but this was what we hand on hand on the day we were working on this one. Fortunately, it’s pretty easy to RE-roof a fairy house. The roofs of some of my more durable houses have to be replaced yearly or so (when the houses remain outside all year).
We painted the cardboard door (I had planned to make a popsicle stick door for this house, but honestly I was ready to wrap up this project), and used a gold tack for the doorknob.
Looking at it all done, I wish I had either made the walls a lot taller, or a bit shorter. I just feel like it got to be sort of an awkward height.
My niece accidentally stepped her foot down one of the outside corners and broke all the paint off. I wasn’t about to let the 10+ hours we had into this little house go to waste, so I just dobbed some of the paint from the door down the corner to cover the white styrofoam and then splotched the paint around on some of the bricks to make it look like it belonged.
I think it worked! (You can totally see the styrofoam in this close up shot, but honestly, I’m ok with how it turned out, considering we had 5 kids running around while we were trying to put it together!)
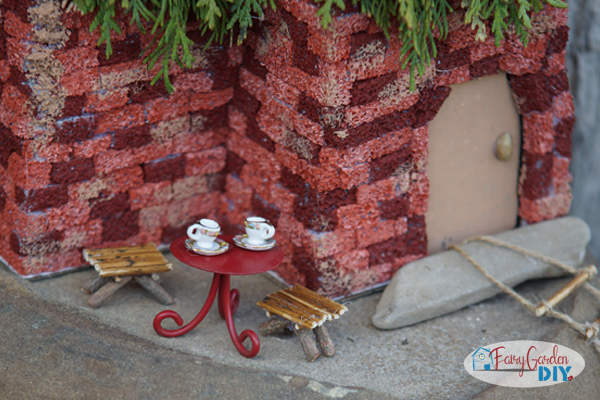
Of course, we had to let the kids have a tea party for the fairies once we got it finished.
The tea set is actually charms I got at Micheals in the bead section, but you could use these little silver beads from Amazon for fairy tea parties as well!
(I have little red chairs for this table, and I couldn’t find them ANYWHERE, which was frustrating, so we just made some tiny reed benches with the glue gun. It’s a good thing fairies aren’t that picky.)