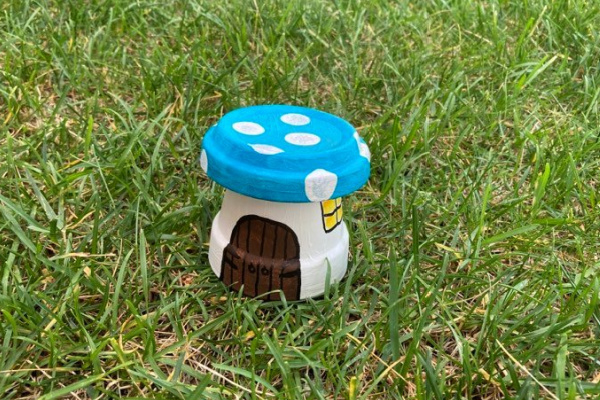
Toadstool clay pot fairy houses
My kids and I tackled another fairy garden project this weekend. We made toadstool clay pot fairy houses – this was a fun cheap project that I’ve wanted to do for a while – and I absolutely love how it turned out!
Check out our 10 FAVOURITE PLACES for finding the CHEAPEST fairy garden supplies!
The kids were able to fully grasp that we were making tiny mushrooms and it was great to see them so involved in our project.
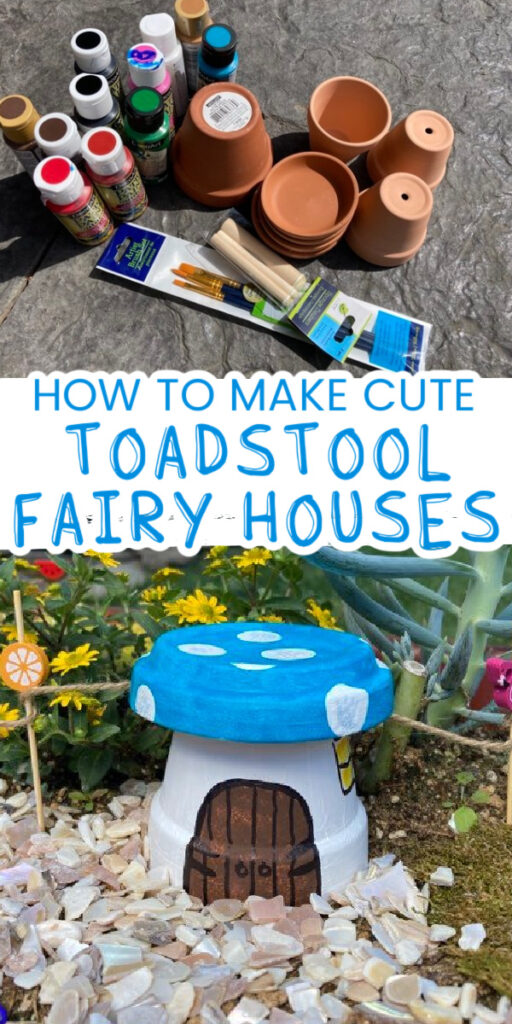
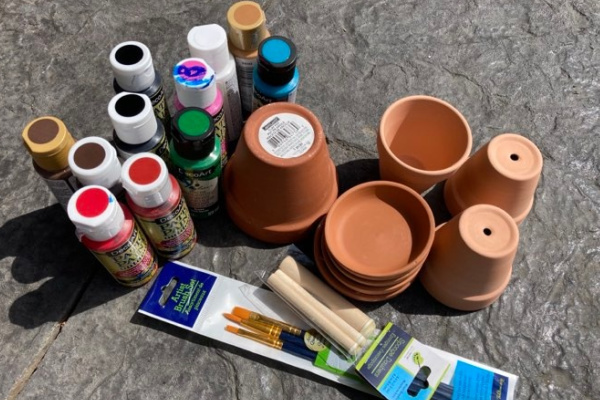
What you will need to make a clay pot fairy house:
- Small sized terra-cot pots
- Small sized terra-cotta saucers
- Acrylic paint
- Paint brushes
- Glue
You could make larger toadstool clay pot fairy houses with larger pots of course, but we used small ones because we were planning to put them in a wagon.
How to make clay pot fairy houses:
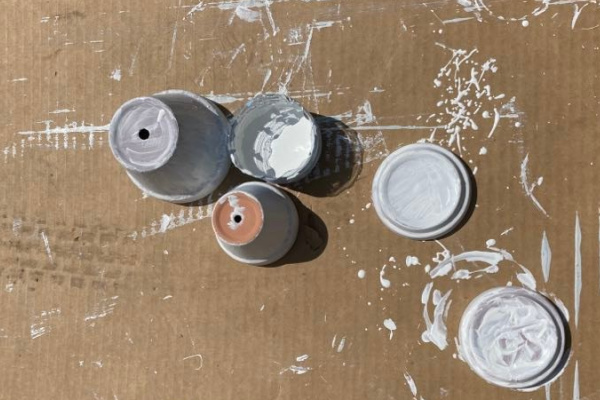
First, we painted both the pots and the saucers white.
We had to do three coats of white to get the terra-cotta color really covered over, and we may have gotten some paint in our hair… but acrylic paint dries pretty fast so it was no big deal.
I wanted the bases of the toadstools to be white but you could use a brownish color, or yellow – or really any color you want, since fairy toadstools are a little magical.
I wanted my kids to be fully involved in this project (not the kind of thing where I just say they’re involved and then I do all the work LOL. I think that’s one of the most important things to remember when making a fairy garden with a kid – LET THEM DO THINGS!)
Therefore, our toadstool houses are not painted perfectly, but they ARE painted perfectly… know what I mean?

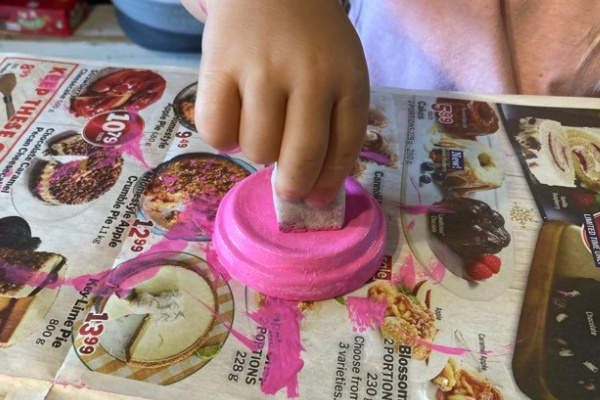
Secondly, we painted the saucers bold colors.
I told the kids their toadstool “roofs” could be any color they liked, so of course, they both chose their favorite colors. The paint REALLY didn’t want to go on well with a paint brush, and found it far more effective to blob it on with a sponge!
The sponges covered over all manor of paint sins.
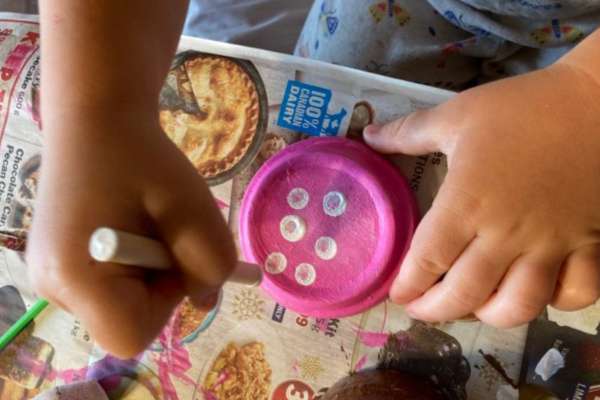
I got these neat little sponge-on-a-stick paint brush things at the dollar store that we used to make the white dots on top the toadstools.
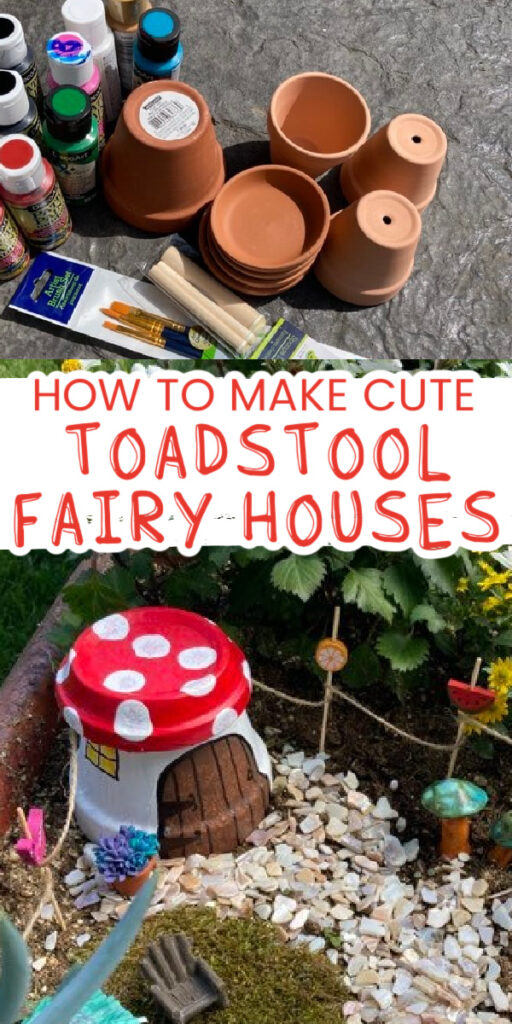
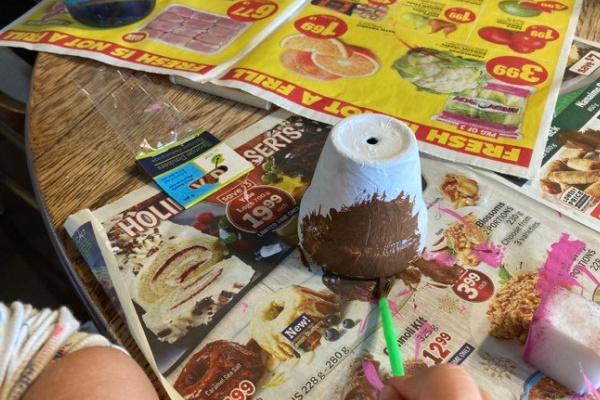
I used a sharpie to draw a door shape on the pots once the white paint was dry, and let the kids paint them in.
I think if we were to do this again, we might use a lighter brown color – since I just drew the “door details” (planks, hinges, knobs) on top after with sharpie… and it’s a little hard to see on the dark brown. (It would also have been great if I had a silver sharpie or a a grey acrylic paint pen that I could have drawn the door details on with.)

My youngest has a hard time with “staying in the lines” but that’s ok, I just drew the door frame around her artwork and it still turned out totally awesome!
I added little windows with a sharpie and yellow paint after the kids were in bed, and hot glued the saucers on top the stems.
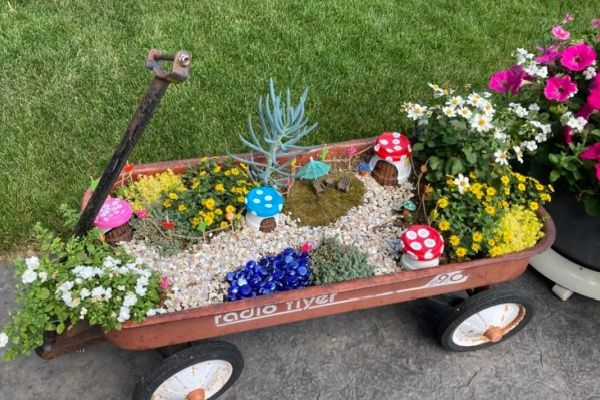
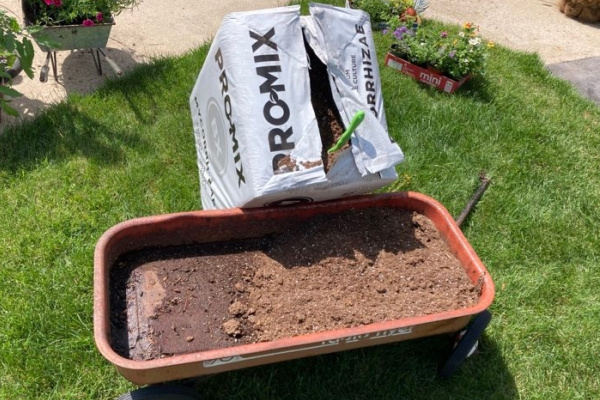
This old wagon is the perfect place to create a fairy garden – it’s really too heavy and awkward for the kids to play with, but it’s far too cool to get rid of.
We filled it with dirt and chose a few plants we figured our fairies would love.
If you’re planting in something shallow like a wagon, try to choose plants that do well in draught areas, and remember to water frequently as it will dry out quickly!
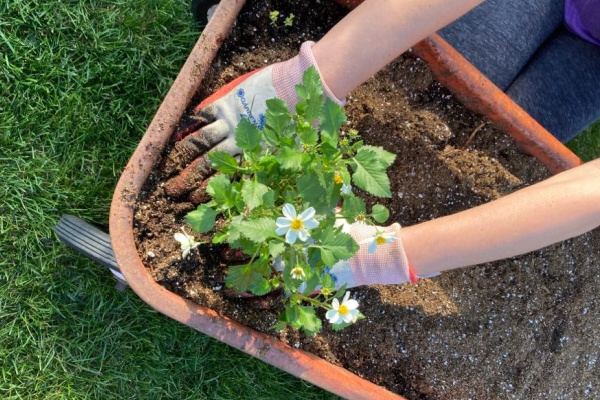
We chose a couple sedum-type succulents, Melampodium (the little yellow flower), some bacopa and (tall white flower).
I always feel like I’m getting great bang for my buck when it comes to sedum plants because you can literally rip them in half and spread them out and they don’t mind!
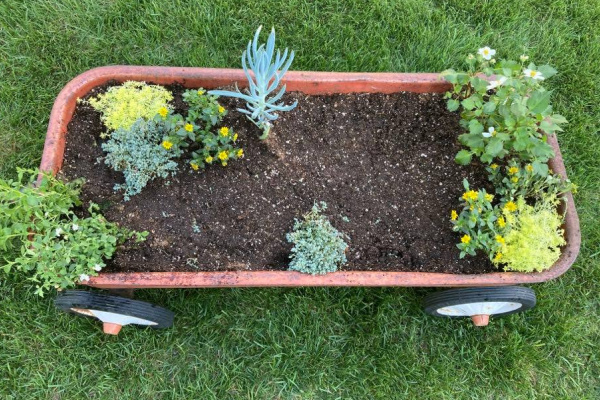
I like to leave lots of “dirt space” between my plants, and little “pathways” to create nooks in the fairy garden.
It’s so much fun to see it come to life!
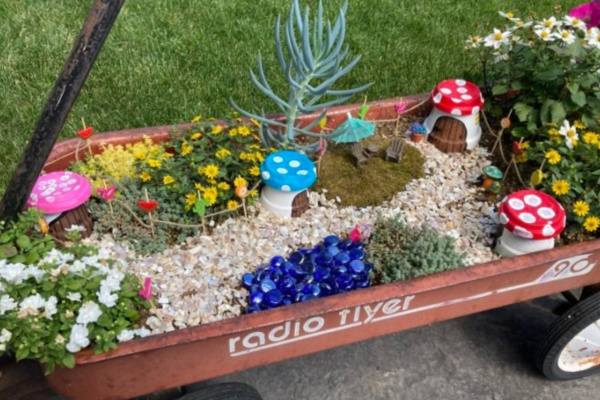
We added a hemp string fence – we made the posts out of decorative skewers from the dollar store. These were SUCH a hit with my kids! There’s flamingos, cactus, orange slices, watermelon slices, and pineapples… we loved them! (You could also make a very simple fence with popsicle sticks.)
We also added a pile of blue glass gems for a “lake” – complete with a tiny pink bucket at the edge.
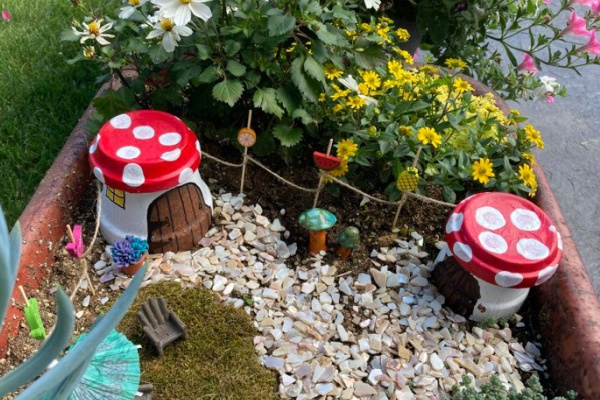
We created the walking path between houses with crushed seashells, since the whole thing had a sort of beach-y vibe with the summer-themed skewer fence lol. You can also use sand or aquarium gravel to create a walking path!
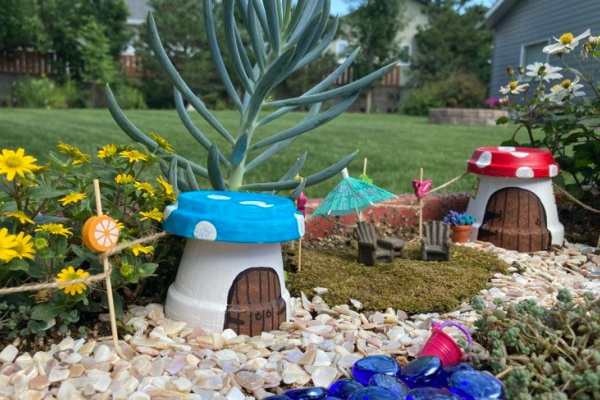
We liberated a patch of moss off a rock in our garden to create a “yard” that the fairies could set up some chairs on.
We added a paper drink umbrella for shade (but we know that won’t last past the first big rain storm we have).
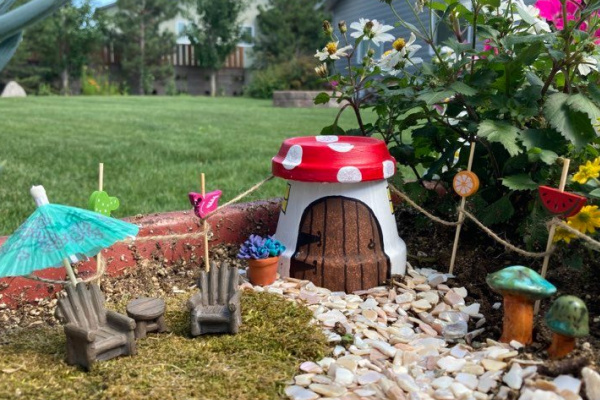
For the finishing touch we added a potted plant made out of polymer clay and some cute green toadstools we got at a garage sale!
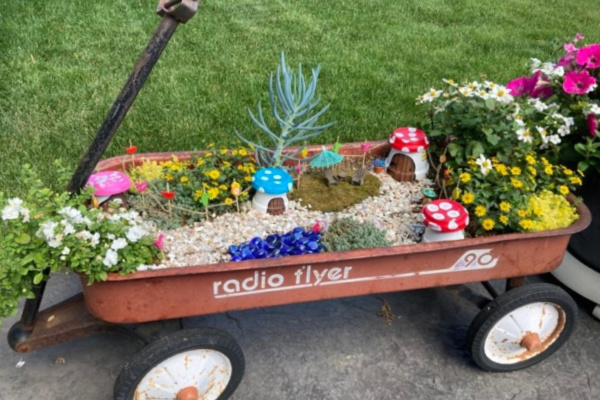
We LOVE the way this little fairy garden with it’s clay pot fairy houses turned out!
IF you loved this project you will also love:
How to make a broken terra cotta pot fairy garden
30+ Cute Fairy Garden Ideas for kids
How to make a Gnome Garden