I know we generally talk about fairy garden here, but today we will talk about how to make a gnome garden!
Check out our 10 FAVOURITE PLACES for finding the CHEAPEST fairy garden supplies!
Making a gnome garden is SUCH a fun easy project – and if you have kids that aren’t AS into fairies (you know, like maybe my boy-kid lol) then gnomes can be a fun way to include them in your miniature gardening!
My kiddos and I created a gnome garden this year along with our standard fairy gardens, and I would have to say this one is a hit!
How to Make a Gnome Garden
1. Choose and prepare a location or planter for your garden
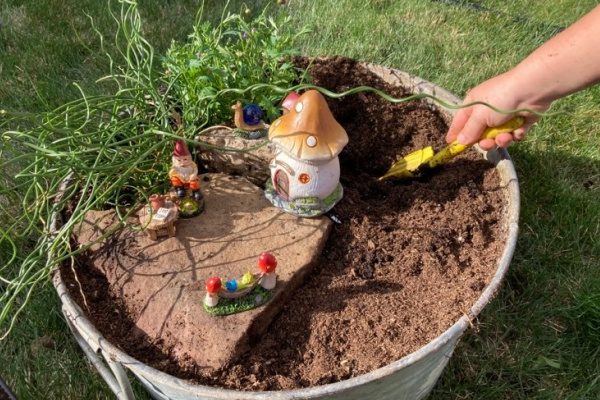
You can create a gnome garden directly on the ground (around the base of a tree, or in a garden bed), or you can create it as a container garden, which is what we did. I do like to create my mini gardens in containers because I like to be able to move them onto the deck or the front porch, and out of the way if it hails.
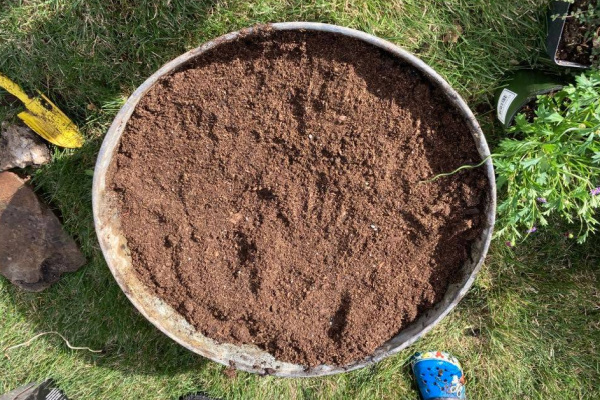
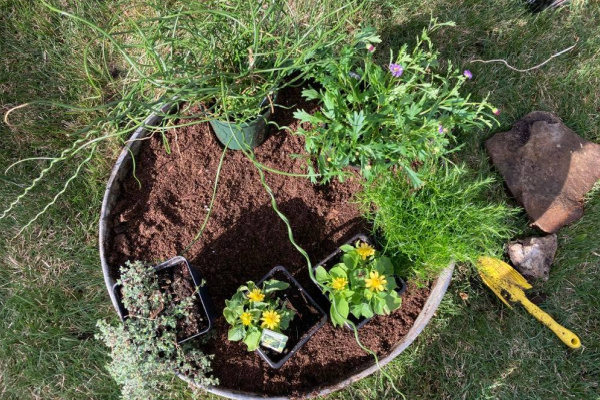
We used an old washtub, but you could also create a mini gnome garden in a flower pot, an old wagon, a wooden box… basically anything that would work as a planter! Here’s a list of my favorite planters for outdoor miniature gardens. You could also create a gnome garden for indoors, of course.
Use common planting sense when choosing your container – if it’s an old rusty washtub, you might want to line it with aluminum foil, or if it’s a very shallow dish you might only want to plant succulents (nothing that needs a lot of water).
Gnomes like to be in the sun, so pick a spot that gets plenty of daylight. (Unless your gnomes are using shade friendly plants…then you’ll want your garden in the shade. The gnomes might like the sun, but really, you have to let the plants decide haha.)
If you’re using a pot full of soil that you planted in last year, there’s a few things that you should know about re-using potting soil. You’ll want to make sure you replenish the nutrients and make sure the soil isn’t too compacted.
2. Choose your Gnome’s plants
There are ever so many plants for miniature gardens, but I tend to have my favorites I come back to over and over again. We chose some of these for our gnome garden – in this planter we used Corkscrew Rush, Miniature Daisy, Wooly Thyme, Irish Moss, and Melampodium.
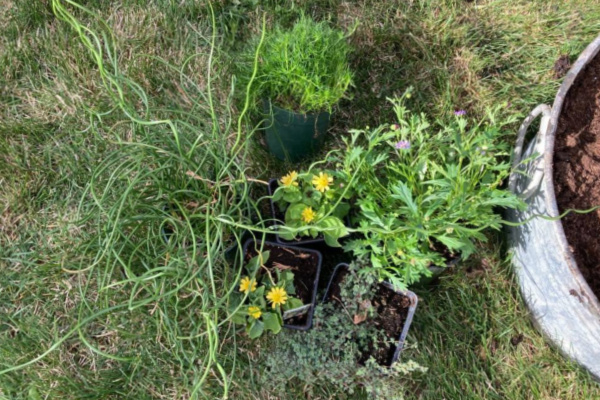
- The Corkscrew Rush has such a WHIMSICAL look to it and I can’t get enough of it in any miniature garden where you want to believe magic happens.
- The Wooly Thyme and the Irish Moss are great ground cover – they will both spread out easily and fill the empty spaces that are currently just dirt.
- The Miniature Daisy and the Melampodium are both colorful and cheery – and easy to grow. Melampodium is especially great in container gardens because it blooms all the way from spring to fall, so you never run out of color! (Gnomes love flowers, so consider adding some blooming plants to your garden.)
3 . Choose some Gnomes and Accessories
You can make or buy your garden gnomes and décor.
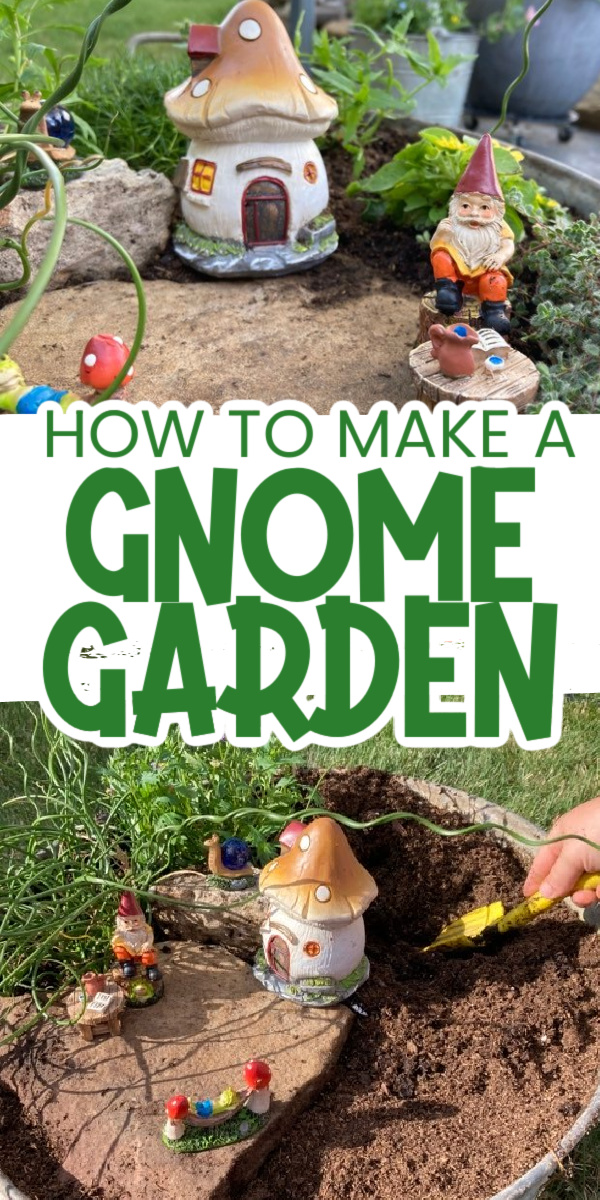
Home depot, a dollar store, Walmart, Micheals – almost all the big name “box stores” sell fairy or gnome garden kits and gnome garden supplies. We generally like to make our fairy garden accessories (which are also cute diy gnome garden ideas), but this time we bought a gnome gardening kit from a local craft store.
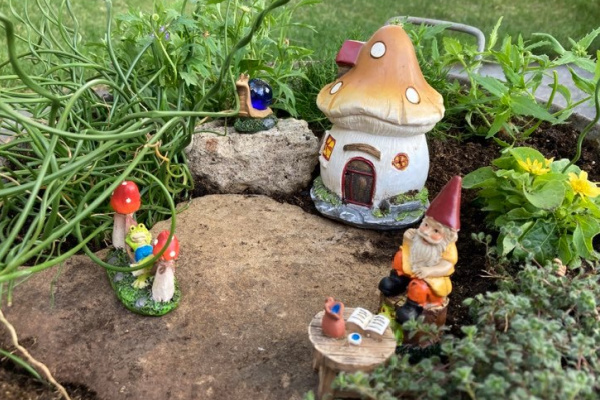
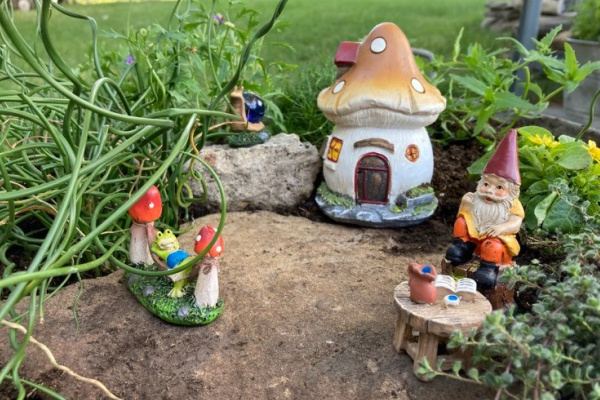
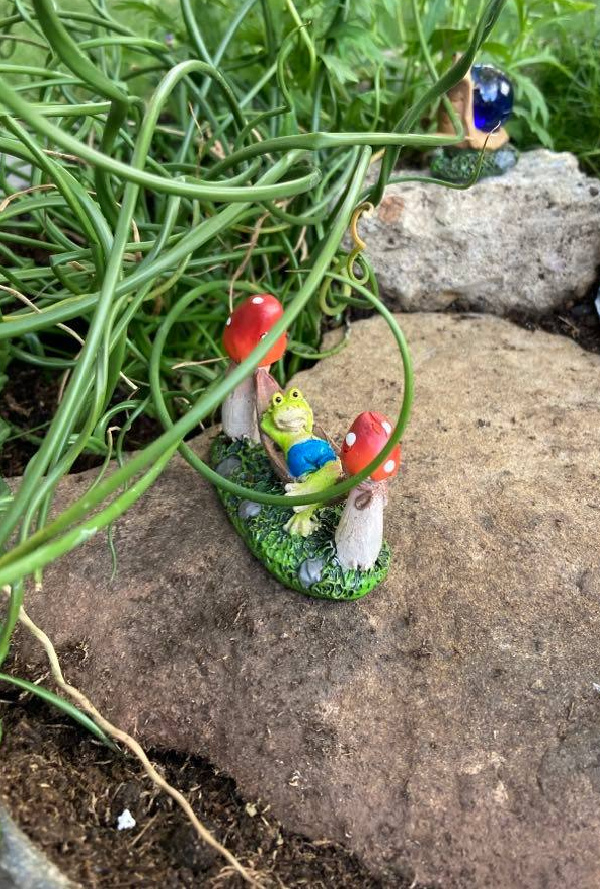
It came with a sweet tiny gnome with a red hat, a frog in a hammock, a snail, a gnome home, and a table with gnome sized coffee sitting on it. The above picture really shows all the little accessories we used in great detail, and you can see the snail sitting up high on a rock (which I explain below).
If you don’t want to buy a kit (or can’t find one) gnomes aren’t generally fussy, and you can even make all their furnishings out of popsicle sticks if you want!
4. Plan your layout
Planning your layout is really helpful if you don’t want to end up digging plants up and replanting them! I like to sort of set the plants into the planter before I start PLANTING them in planter, just to get an idea of the layout.
I like to position larger / taller plants around the gnome houses and ground cover type plants towards the front, so the houses and accessories don’t get obscured from view as things grow over the summer.
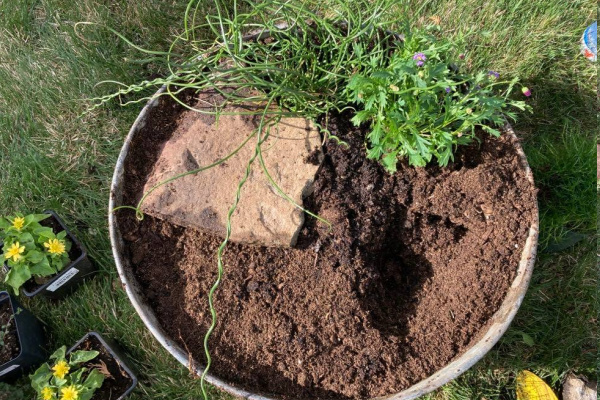
As we worked on this layout, we decided having a large flat stone for the gnome and his accessories to “live” on was a good idea… and then we added the smaller stone for dimension and interest sake. Levels always add interest, in my opinion! (See what I mean here, in this broken pot garden – it uses SO many levels!)
5. Finally, add your gnomes + accessories!
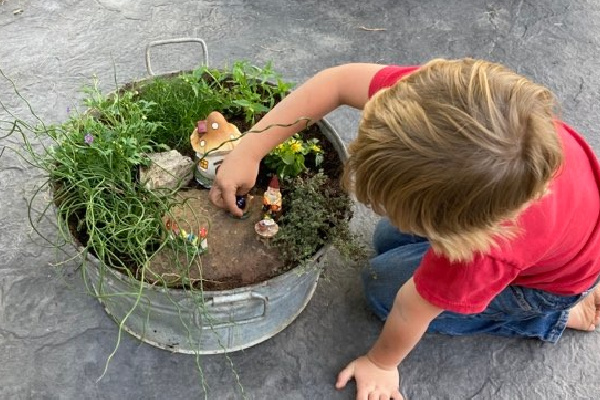
Technically, for this garden we added gnomes and accessories as we planted, because we wanted to make sure everything was fitting into the space nicely. (And also maybe a little because my kiddo was SO EXCITED TO GET THE THINGS IN THE GARDEN lol.)
The only drawback to that was that the little mushroom house got SUPER dirty and we had to wash it lol.
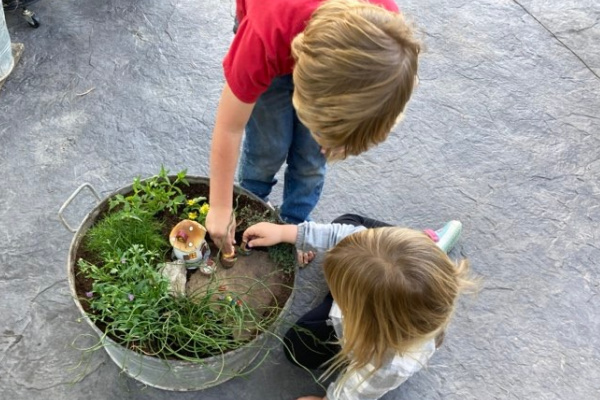
Half the fun of making a gnome or fairy garden for kids is letting them dig in the dirt and have a say in where everything goes, so don’t be too particular (especially if it’s supposed to be for them).
Now that you know how to make a gnome garden, put it on your bucket list for this summer!
Creating miniature gardens – regardless of if they are full of fairies or gnomes or ladybugs – is a fun family activity that your kids will remember forever (and enjoy all summer). If you start with a mini garden and this project is a hit, you can create a whole gnome village!
If your children love gnomes, print out these gnome coloring sheets for them!
You’ll also like:
How to Make a Fairy Garden
Cute DIY Polymer Clay Toadstools
35 Fairy (or Gnome) Houses to Build This Summer