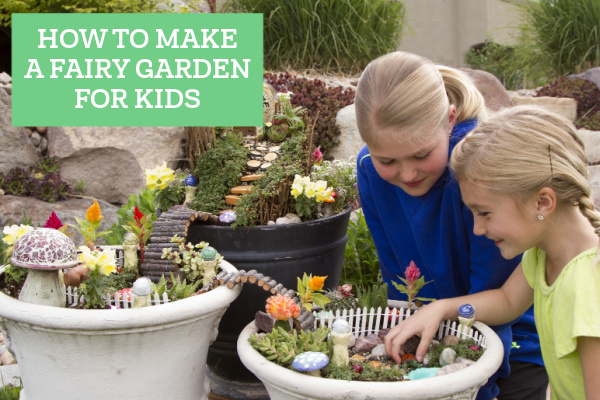
If you’re looking to lean how to make a fairy garden for a child, you probably won’t be surprised to hear that it’s very different than making a fairy garden for an adult but it’s just as much (or even MORE) fun.
Check out our 10 FAVOURITE PLACES for finding the CHEAPEST fairy garden supplies!
I make most of my fairy gardens with my kids, and they enjoy it as much as I do, but I’ll admit… there are times I find myself saying “don’t touch that until we take pictures” or “please don’t squish that, honey!”.
Some of the more delicate décor or some of the DIY items that take more time (like these polymer clay veggies) just aren’t as great for kids as they are for grown-ups (and fairies of course).
(THIS POST MAY CONTAIN AFFILIATE LINKS. YOU CAN READ OUR FULL DISCLOSURE POLICY HERE.)
How to Make a Fairy Garden for a Child – in 4 steps
First and most important, in my opinion, is to remember it it’s FOR THE KID – not for you! (I’m just saying, because I have to be reminded all the time hahaha.)
This means – mom – don’t be so controlling. It doesn’t have to be perfect, let them have fun.
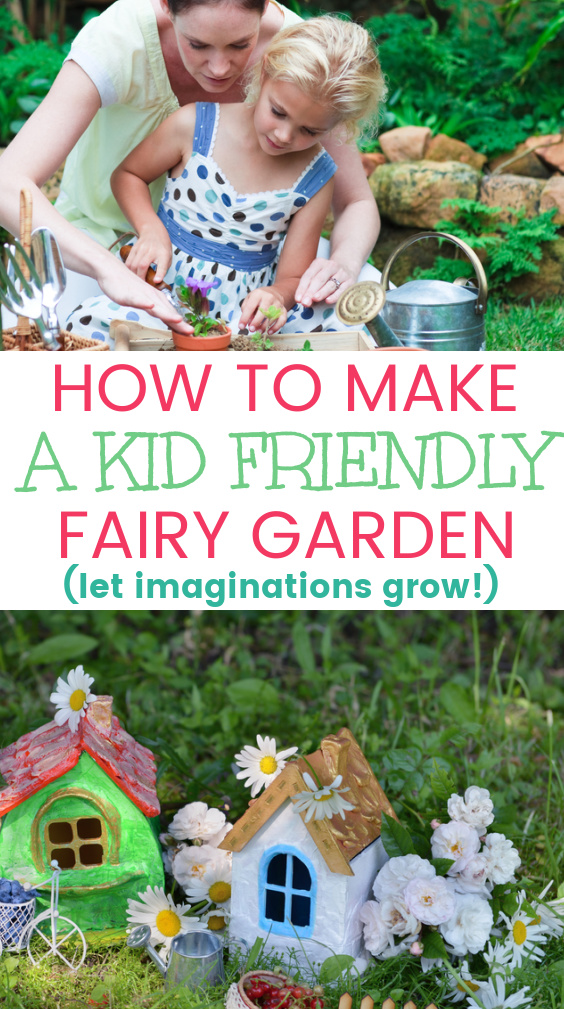
Let their imagination run wild!
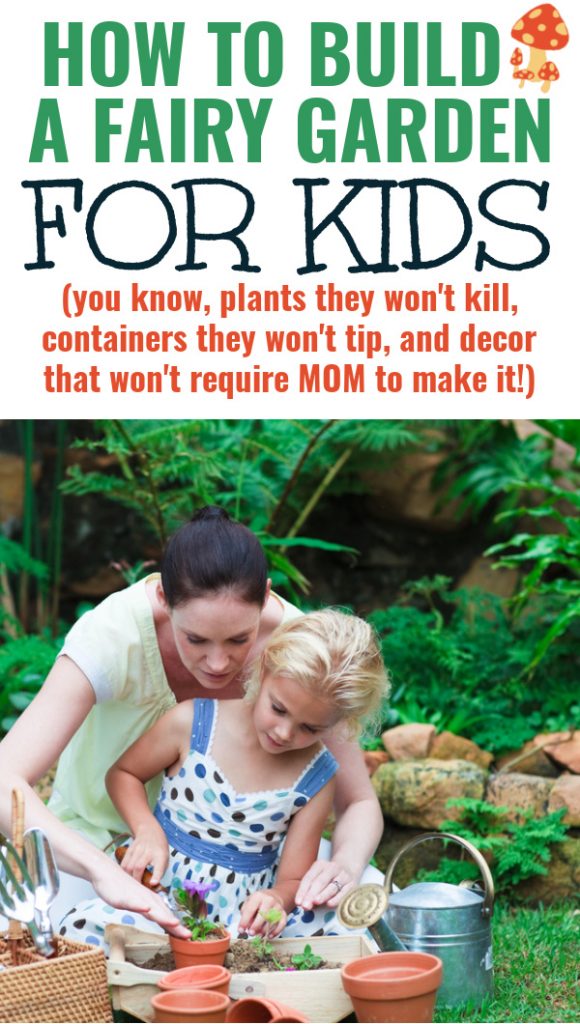
There are no rules… but there ARE some things to consider when it comes to making a fairy garden for a child – like plants that don’t die easily, containers that don’t tip, and just how involved in the creation mom wants to be!
Step 1: decide how DIY and involved you want your kid’s fairy garden to be
As far as how to build a fairy garden for kids, and how much parent help is required, you have three options:
A) Buy a kit and follow the instructions (low DIY / little parent help needed)
There are tons of fairy garden kits for kids on Amazon and you can get a few at craft stores, but they are really lacking imo.
They are sort of un-imaginitive, but if you don’t want to be too involved in the project personally, or if you’re just looking to see if your child will be interested at all before investing the time in a more involved fairy garden, a kit will do it!
They’re also a good option for those that don’t have a ton of space for storing “crafty” things, or who just want a one-stop-shop for everything, right from the container to the houses.
It can be a good way to get your “feet wet”!
If you’re interested in going this route, here are a few fairy garden kits that you could check out:
- This one is fun, with a water powered ferris wheel
- This is a dinosaur-themed garden, if you want to involve a child who isn’t sold on fairies
- This one is two tiered, which allows for trailing plants – I think it looks AWESOME
I honestly don’t love the kit option, haha, I prefer to DIY my fairy gardens (but you knew that)..
Kits are a great all in one. If you don’t want to MAKE all the houses and décor, but you already have something kicking around that would work as a cute fairy garden container or you want to make SOME of the decor… and give your kids a little free range imagination space, then the next options are better.
B) Buy some pre-made houses + fairies from the dollar store (or online) and DIY some décor (medium DIY / some adult help needed)
This is a better option than the above, I think – it saves some time (or some headache if you’re not really crafty), but still allows for FAR more imagination.
You can get a lot more bang for your buck at the dollar store than with an online kit too if you ask me!
Buy a couple houses and some sweet fairies, and make all the other décor.
You can get some really unique houses – for example:
- This house is “made” from a shoe
- This one is “made” from a snail shell
- And this one comes with fairies!
You could also use a purchased fairy dwelling to set the “theme” of the garden – like this tiny fairy camper – and then create a fairy campground… with a couple log benches, a tiny stack of fire wood, and make a circle of rocks for the fire pit! Let their imaginations go!
Here are a few ideas for things that you can easily add to decorate a fairy garden in addition to purchased houses and fairies.
These things don’t cost more than pennies and are VERY easy to make. (So they require limited involvement from you, and making a fairy garden for your kid doesn’t HAVE TO take allllll week if your kids have short attention spans lol.)
- popsicle stick fences + ladders (or literally anything – here’s a list of popsicle stick fairy garden ideas)
- marble “gazing balls” (glue a marble to a golf tee, see it here)
- penny, seashell, or painted rock “walking paths”
- “garden signs” from painted clothes pins (see it here)
- tiny chairs from bottle caps and twigs (see it here)
- a tire swing with string + twigs (pull an old tire off a toy truck – see it here)
C) DIY your entire fairy garden (very DIY / lots of adult help needed)
Obviously, this is what I’d do because I LOVE MAKING FAIRY GARDEN STUFF, hahaha. And my kids do too!
We love to make the houses and all the décor. It absolutely does take a lot more time, but the process is priceless, and we get to spend that creative time together.
While most of the fairy houses I share on this site are more involved, you can make simple kid-friendly fairy houses that DON’T take days or weeks (or super glue/ concrete).
You could decorate a dollar store bird house, paint turned-over clay pots, or glue popsicle sticks together for your fairy house.
You could even (for a SUPER budget friendly fairy house) glue sticks and leaves together, and decorate it with seashells, glitter, beads – ANYTHING!
Full list of fairy garden ideas for kids – the fully involved exciting kind – coming soon!
After you decide how much DIY you want to do on your children’s fairy garden, step two is prepping it!
Step 2: choose and prepare the container
Choose almost anything as a fairy garden container. (If you opted to purchase a kit, this is likely included.)
I have seen some upcycle their old water tables into fairy gardens for their kids, or you can use a flower pot you have laying around!
When consider how to make a fairy garden for a child – think kid’s things for containers! Wagons, old sandboxes, or plastic toy boxes could make fun containers!
Keep in mind when choosing your container that small containers don’t allow the ROOM a child probably needs to PLAY in the garden, and remember that tall containers pose a “tipping” hazard. If you choose a tall container, add a lot of weight to the bottom of it.
The ever popular wheelbarrow can also be a little tippy for a child’s fairy garden.
Old tires are great CHEAP options that are low to the ground.
Whatever you choose for your child’s fairy garden container, consider how you can add drainage. As we’ll discuss next, drainage prevents drown-age when you are letting tiny people water live plants.
Step 3: Choose plants
When choosing plants, it’s important to decide ahead of time – is the kid’s fairy garden you’re making going to be indoor or outdoor?
If it’s indoor, I would suggest going super simple with some fake plants and a base of craft moss and stones – or plain old GRASS. (I know my kids want to be able to PLAY in their fairy gardens, and I’d rather not have all that dirt all over the house!)
For an outdoor garden, be sure to provide MORE drainage than you would normally think necessary.
MY KIDS LOVE TO WATER THEIR PLANTS! hahaha. (Give them a tiny watering can – I can almost guarantee this will be a hit!)
Drainage holes in the bottom of the container are essential in a kid’s fairy garden, and a layer of rocks under the dirt is always a good idea. (This also adds weight an helps prevent tipping over accidents, which helps prevent heartbreak!)
Choose some extremely hardy plants for a child’s fairy garden. Something that doesn’t mind being bumped or pruned. Here’s my top recommendations:
Best Plants for a Childs’s Fairy Garden
Start with basic ground cover –
- Grass (seriously, chop a chunk out of the back yard!)
- Moss (pick it out of the forest or grow it yourself)
- Chia seeds (YES! just like those “pets” use hahaha. Grows fast, and they can trim it with scissors!)
- Creeping thyme (absolutely my favorite fairy garden ground cover)
- Seedum / Stonecrop – they are fighters; these suckers will TAKE OVER LOL
Add a couple taller/larger plants for variety and color – these are hardy:
- Marigolds
- Cosmos
- Zinnias
- Snapdragons
- Geraniums
(If your kid is just a toddler, or REALLY hard on plants, chopped tree branches can do in a pinch, they stay green for a while, and you can replace them when they die.)
REMEMBER, choose only a couple of taller plants, and plant them to one side, leaving the other side open for the fairy set up!
Trust me, it’s frustrating when – one month later – all the plants have filled your container and you can’t see your hard work anymore. Do not be afraid to prune your larger plants to keep them under control.
Leave some “free” dirt space – you don’t want to overwhelm the container with plants.
To keep things tidier, you can cover the dirt with aquarium rocks (like I did for this bird bath fairy garden), crushed seashells, or even sand.
Step 3: Set it up!
When making a fairy garden for a child, LET THEM DO THE SET UP- at least as much as possible!
I said it before – haha, this is for them and not for you. Ask them questions and encourage them to figure out where they want to place the houses, furniture and fairies!
Ask them what else they want to create to add to their garden.
If your child gets very “into” fairy gardens, you can also add tiny fairy surprise to the their Christmas stocking, instead of a bow on birthday presents, or even under their pillow when the tooth fairy comes – use these printable tooth fairy letters to start a fun new fairy tradition!
What else do you think is important when considering how to make a fairy garden for a child?
Have you made one?
If you have pictures of kid’s fairy gardens THAT YOU OR YOUR KIDS CREATED, let me feature them!
Thanks for the ideas. I am not sure what I am doing. It started from a love of Tinkerbell and a small greenhouse. Plus everything has to be deerproof.
You definitely can learn as you go!!