I think it was a DIY mini polymer clay succulent tutorial I saw years ago that made me WANT to start a site about fairy gardens. They were just so… ADORABLE. Like who doesn’t need these?!
Check out our 10 FAVOURITE PLACES for finding the CHEAPEST fairy garden supplies!
I don’t know why it’s taken me so long to getting around to making my own tiny succulents for a fairy garden. I think they felt a little daunting because the tutorial I saw was from a professional artist, who did some pretty fancy things with the polymer clay – not to mention she had a ton of special tools; things like “leaf shape” cutters etc (that I don’t have).
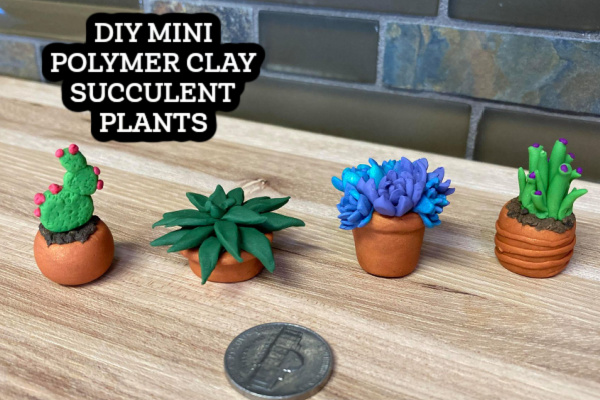
Anyhow, I finally got over myself, and I LOVE how these little polymer clay succulent plants turned out! (Unlike live fairy garden plants, these require no care LOL.)
(THIS POST MAY CONTAIN AFFILIATE LINKS. YOU CAN READ OUR FULL DISCLOSURE POLICY HERE.)
If you haven’t worked with polymer clay before, don’t let it overwhelm you. It’s actually VERY simple.(If you don’t have the patience for clay, these mini pots of flowers are WAY faster.)
Just follow the package directions, and be sure to clean your fingers between colors, as the darker shades – like red + black, will DEFINITELY rub off onto other colors giving them a muddy appearance.
What you’ll need to make mini polymer clay succulent plants:
- polymer clay in various colors (I just buy a variety pack)
- liquid bake-able clay
- a set of polymer clay tools can be helpful, but not necessary
- a sharp knife
- a pen (or stick of some sort)
- an old toothbrush
- a little patience (haha)
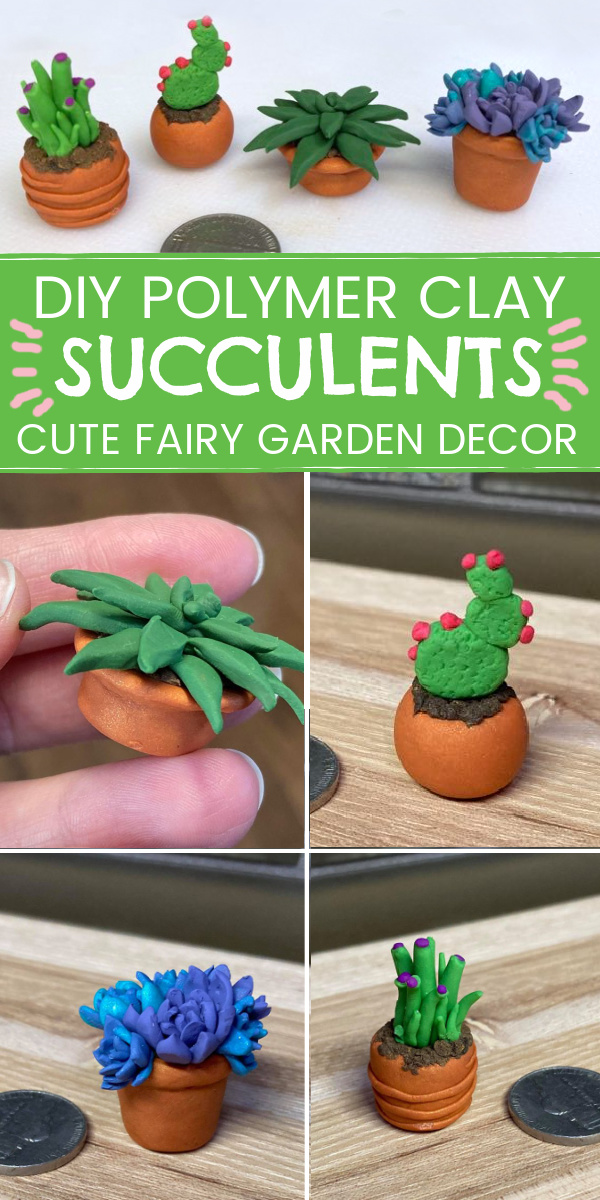
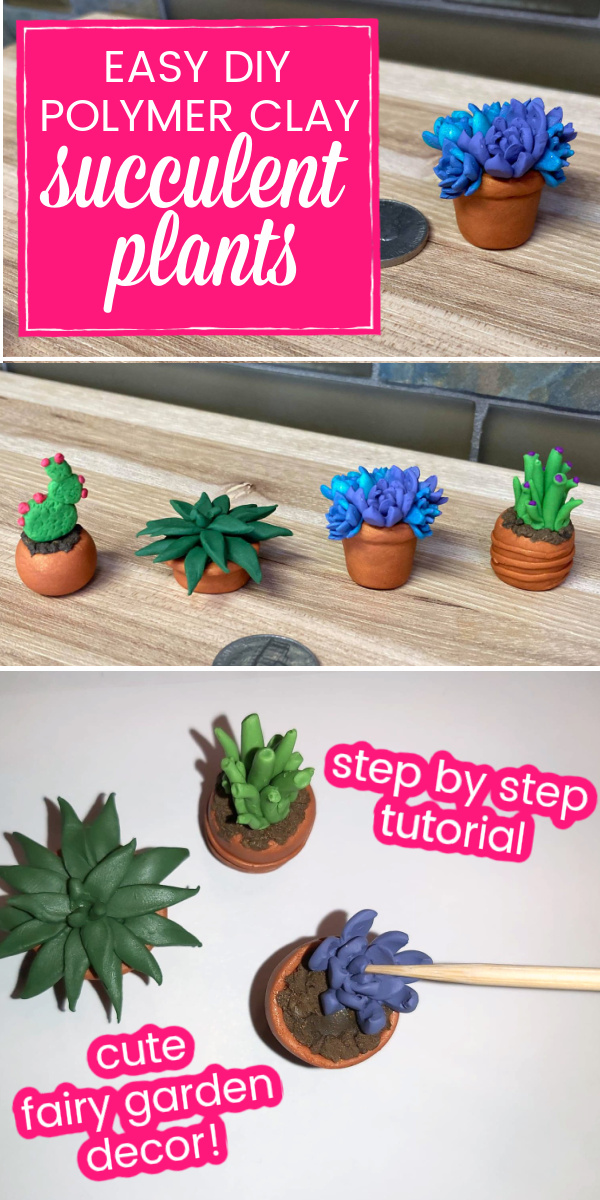
How to make DIY Mini Polymer Clay Succulents
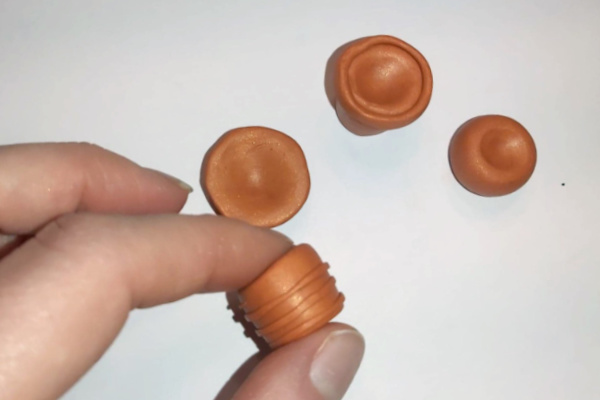
I wanted my pots to be sort of terracotta-y, and I didn’t have the right color of clay, so I smooshed a number of colors together to get a terracotta shade. If you’re not that picky about pot color, I think ANY color would do. White pots could be painted with cute designs really easily.
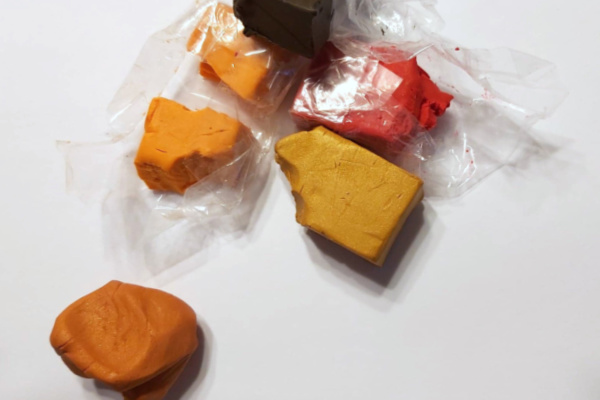
Above are the colors I blended to get my terracotta color. I love the fact that whatever color you want, you can almost always create it by blending other colors. Just make sure to mix your clay really well! (It’s actually easier to work with if you’ve worked it well.)
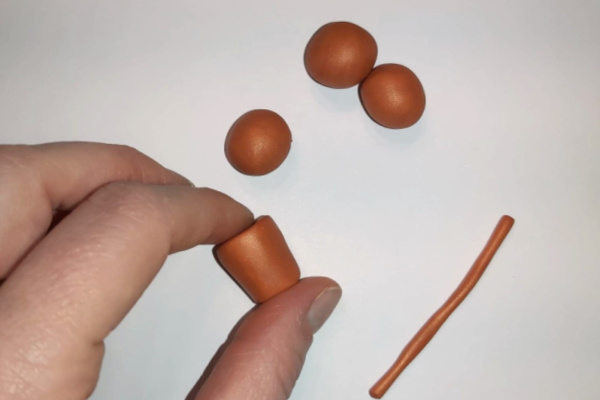
I split the “terracotta” clay I made into 4 equal-ish sized balls, and shaped little pots out of them.
For the traditional terracotta pot look, I flattened a ribbon of clay and wrapped it around the top my of my pot.
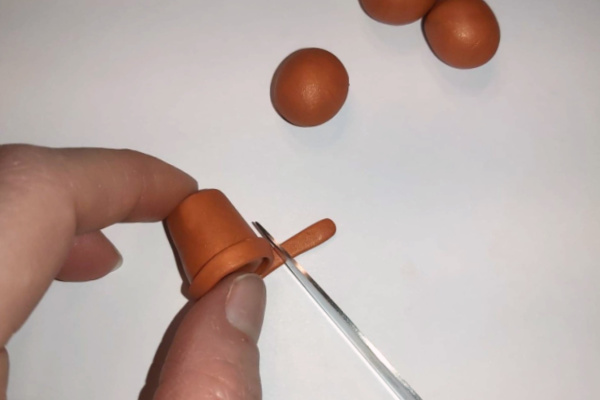
I wanted each pot to be unique, so I did different sizes and shapes for each one. As you can see, I let perfection go LOL. None of the pots are remotely perfect or symmetrical, or even…. straight. haha.
(I think the fairies are cool with wobbly lines, so I am too.)
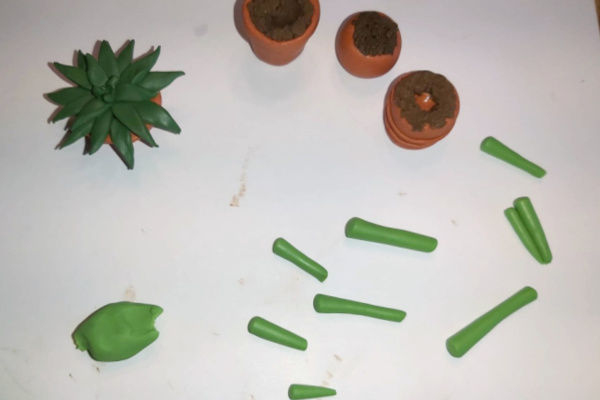
I added a drop of liquid bake-able clay, and filled the pots with “dirt” – tiny brown balls – and texturized them with a small stiff bristle brush. You could use an old toothbrush for this.
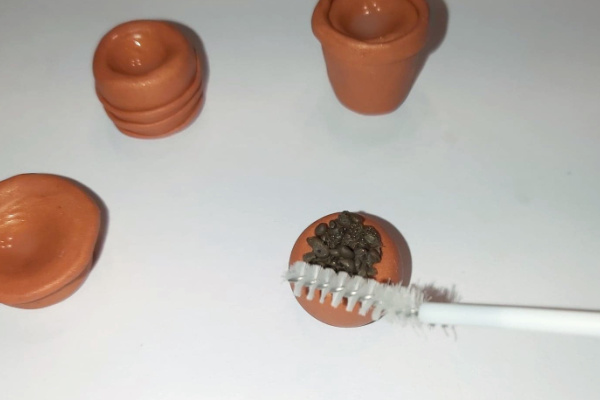
I didn’t know what I was doing, of course, so I filled the entire center of the pot with dirt… THAT turned out to be really unnecessary, as you can’t see ANY of the dirt in two of the pots, and you can only see dirt on the outer edges in the other two.
I would just do dirt around the edges to start with, and you can always add more as a finishing touch where needed later.
I didn’t have “leaf shape cutters”, so I just cut leaf shapes out with a knife, and shaped them a little with my fingers before I placed them in the pot.
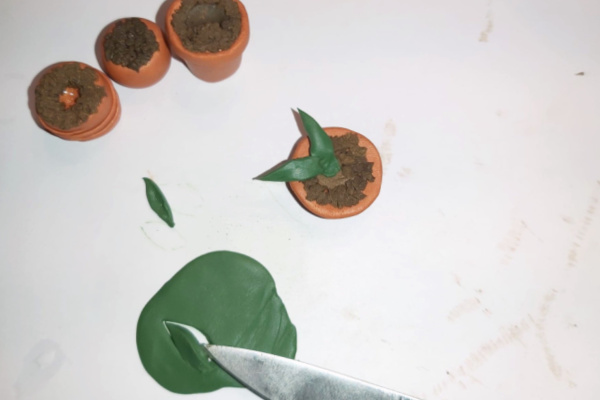
Plants in real life don’t actually look perfect or have 100% symmetrical leaves, so I didn’t stress about my leaves much.
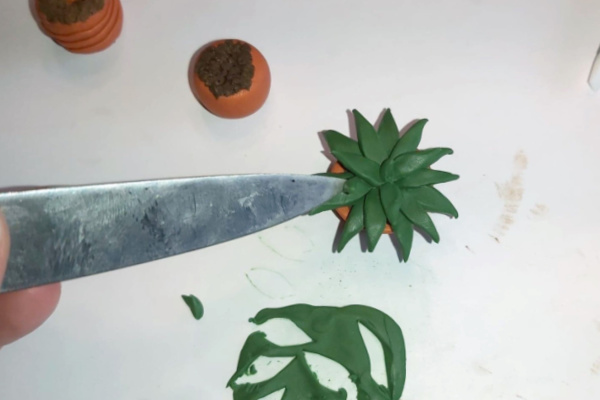
I used the knife tip to place the leaves, for the most part, because my fingers just kept squashing them.
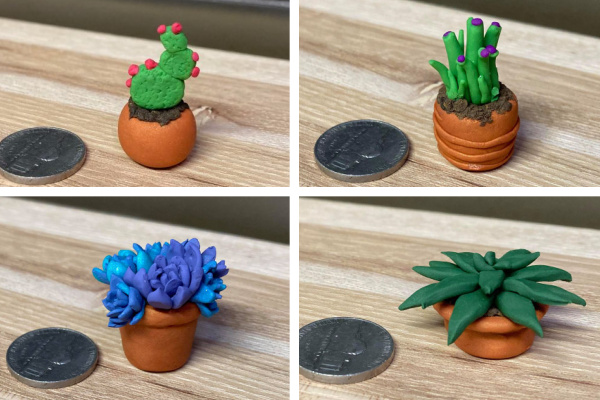
I wanted 4 DIFFERENT kinds of plants, so I made one crassula type plant by rolling “fingers” of pale-r green and sticking them all together. (In the end I added small purple clay blobs to the top for color, but that did make it look a tiny bit less realistic I think. That’s ok, maybe it’s a special fairy-type crassula. lol.)
To make the purpley-bluey hen + chicks plant, I cut little balls in half and rolled them a little against the side of a thin stick (a pen would work too).
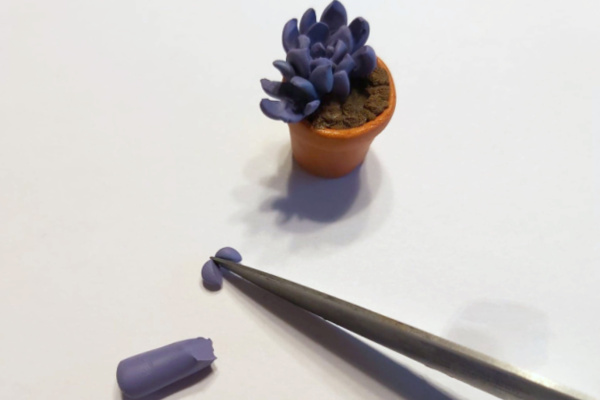
I placed them with a stick, because fingers REALLY didn’t work here.
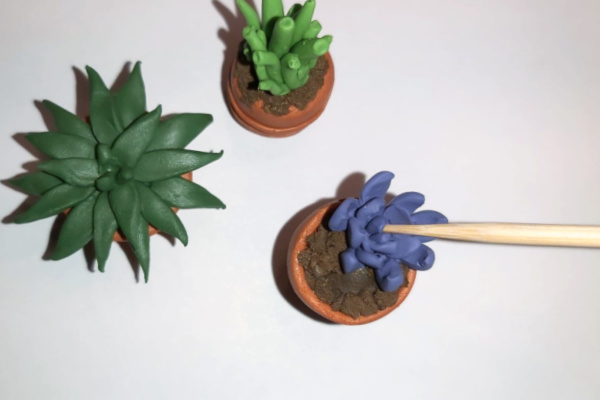
After I had built two entirely purple plants in this pot, I could see it might be kind of “blending together” without any other color, so I added some blue to my purple, and I LOVE the way it came out.
There are 6 individual plants in the blue-purple plant pot, and it took BY FAR the longest to create. Maybe a full hour? (The others all took under 15 minutes!)
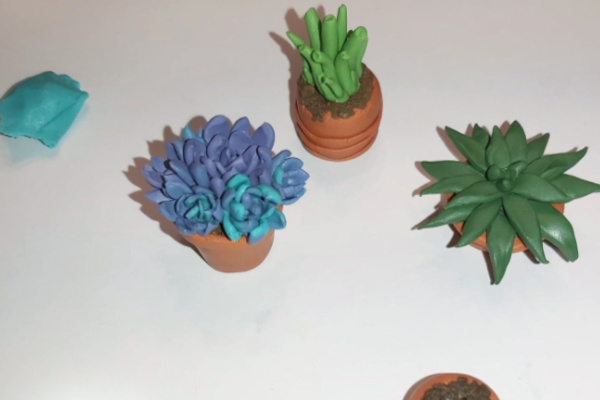
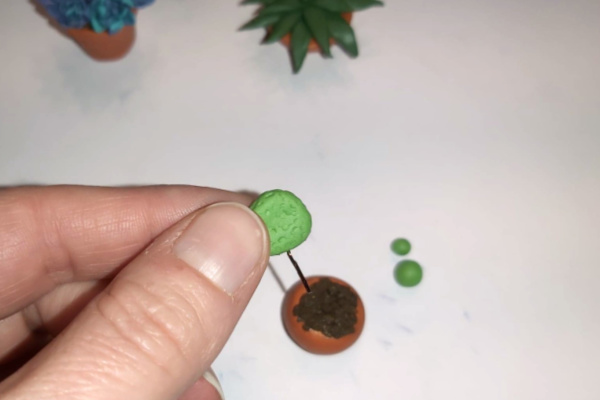
To make the tiny cactus I made 3 small balls, flattened them and textured them with the point on my stick.
I didn’t feel like I was able to press the base down well into the pot, so I ran a small wire through it – but I don’t know if that was necessary.
Bake your DIY Mini Polymer Clay Succulents according to clay package directions.
The following video from youtube is great for anyone who’s just starting out with polymer clay succulents!
You might also like these other fairy garden accessories from polymer clay:
Mini Polymer Clay Toadstools for Fairy Gardens
Mini Polymer Clay Veggie Basket
How to make Polymer Clay Fairy House Doors
How to make Polymer Clay Ladders for Fairy Gardens
If you use this tutorial to make some DIY miniature polymer clay succulents for fairy gardens, send me a picture!
Feel free to pin this post on DIY Mini Polymer Clay Succulents to pinterest, so you can find it again!
Wow I am just getting into thinking of making a fairy garden. These succulents look amazing I hope mine will look half as good as the plants you made. Thanks so much for this DIY.
This was my first try at making the little succulents, and they weren’t toooo hard. I’m sure yours can look great too!