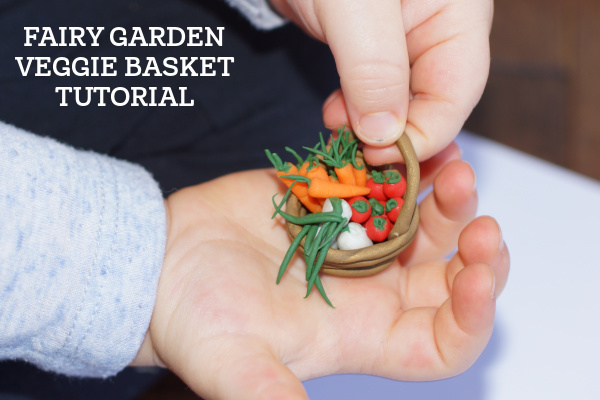
Polymer Clay Vegetables Tutorial
I’m sure fairies are hands-on and earthy… they wouldn’t just run to supermarket for their produce. (I’m 99% sure they only eat what they grow or forage?)
Check out our 10 FAVOURITE PLACES for finding the CHEAPEST fairy garden supplies!
A fall fairy garden isn’t complete without some sort of harvest style décor – like baskets of fresh veggies just waiting to be taken inside. (And maybe some mini garden tools for tending the veggie patch too?)
(THIS POST MAY CONTAIN AFFILIATE LINKS. YOU CAN READ OUR FULL DISCLOSURE POLICY HERE.)
You can purchase doll-house style produce for your fairy gardens, like carrots and peppers (and even cute crates to store them in), but like the fairies, I find there’s something so much more satisfying about creating them yourself!
Polymer clay is such a fun way to make fairy garden décor – it’s easy to use and the possibilities are absolutely ENDLESS for what you can do with it.
I have used it in the past to doors for my fairy houses, ladders to help the fairies reach new heights, and tiny toadstools (probably my favorite polymer clay creation so far).
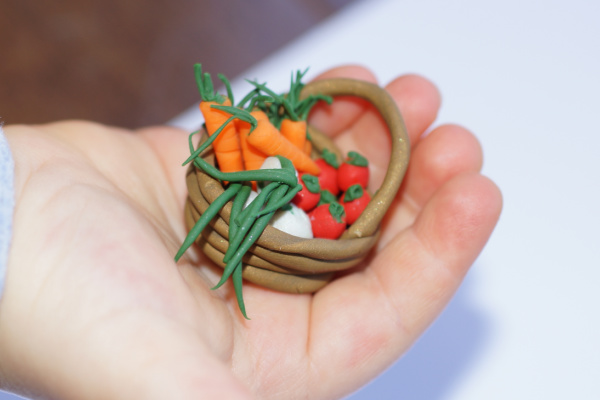
Recently my kids and I used polymer clay to create adorable baskets of miniature veggies – and I think you (and your fairies) are gonna LOVE these!
How to Make Polymer Clay Veggies for a Fairy Garden
In this tutorial, I make carrots, tomatoes, and onions in a basket.
But you could make literally anything! This summer I am going to add some cabbages, zucchinis, and pumpkins to our collection.
What you’ll need to make miniature polymer clay veggies:
- white polymer clay
- red polymer clay
- orange polymer clay
- green polymer clay
- brown or tan polymer clay
- ( any other colors of clay you’d like to use)
- Knife
- liquid bakeable clay (or white glue)
Begin by forming your basket
I mixed a couple of browns together to get my “basket brown” – but any brown will do!
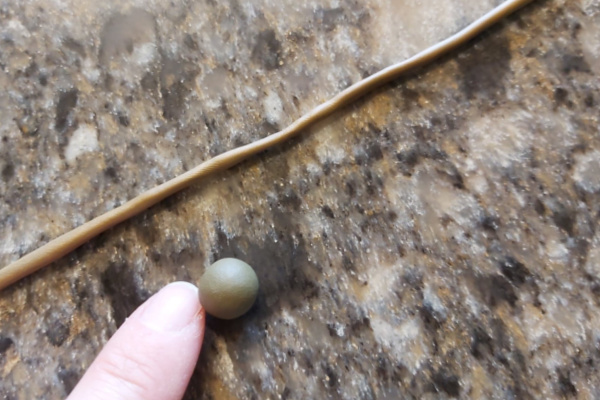
You want to form a “snake” that you will wrap around to create your basket, and a small ball that you can press down to make the bottom of the basket. If you’re not quite sure how much snake your basket will require, make more than you think you’ll need!
The photo below shows the size of ball I started with for my basket base. (Please forgive my photos… as usual, I was invested in the project and not really thinking about how great the photos are. I WILL get better at paying attention to this and picking up a REAL camera for in process photos. lol.)
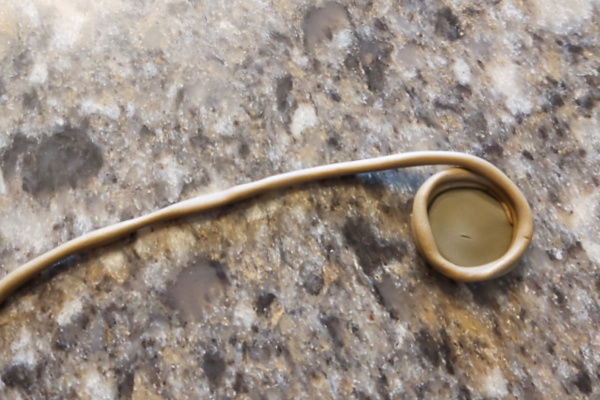
Once your flatten your ball, attach the “snake” at one edge and wrap it around and around on top of itself, until your basket is as tall as you want it to be:
Attach a handle across the top of your basket, if you like:
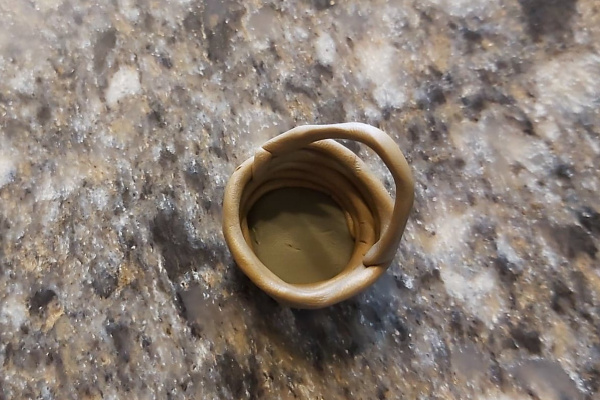
Don’t worry too much about any dents or “rough looking” bits your basket might have at this point… I don’t think the fairies are EVER looking for perfection!
Next, fill your basket with veggies:
In the photo below, you can see what size ball I started with for my carrots. It’s not much!
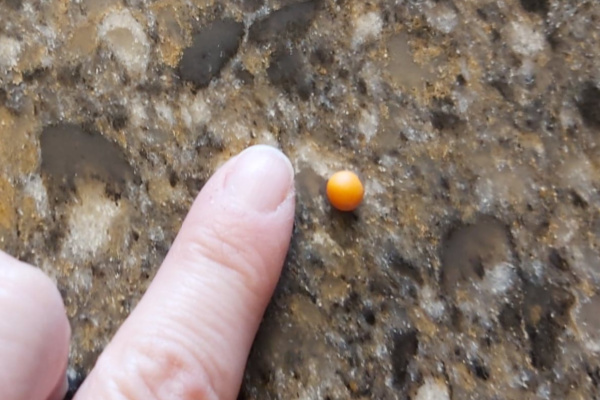
Roll your “carrot balls” into cones – tapered slightly at one end.
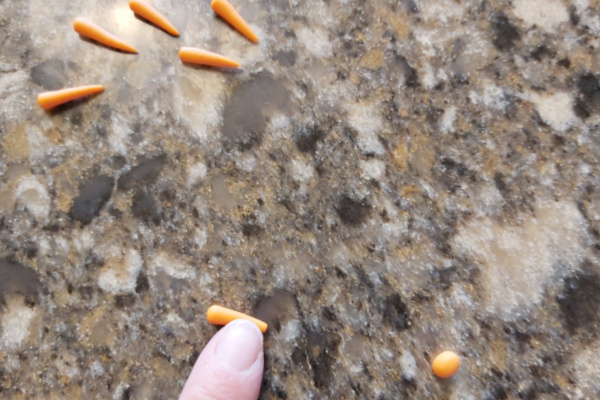
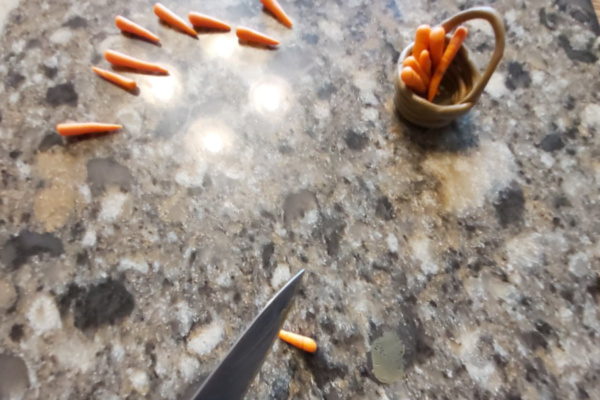
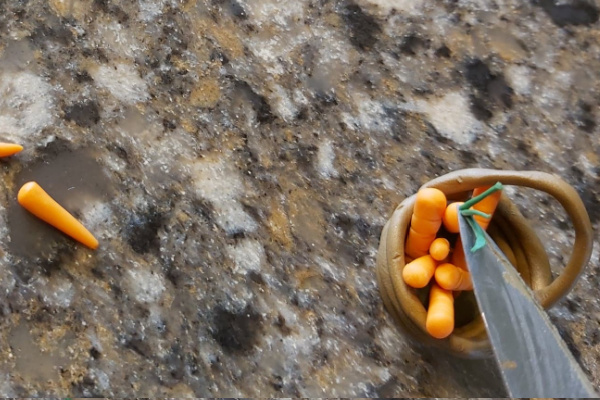
Next, I used a knife to add a little texture – since carrots are never totally smooth, and as I textured my carrots, I set them into the basket.
If you want your carrots to be loose, just set them aside. I made a basket of carrots AND a loose bunch of carrots.
For the carrots in the basket, if you are absolutely certain you don’t want them to come out, you can add a drop of liquid bakeable clay at the bottom.
To make the carrot tops, I rolled SUPER THIN “snakes” from green. They were too fine to handle with my fingers, so I used a knife with a sharp point to cut tiny pieces and lift them, and stick them together.
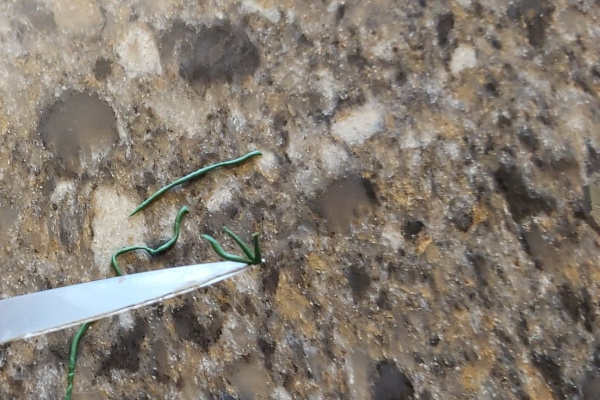
I added JUST a drop of liquid bakeable clay to the tops of my carrots to really hold the greenery on, but if you are able to press them together hard enough with the knife-tip, that isn’t 100% necessary.
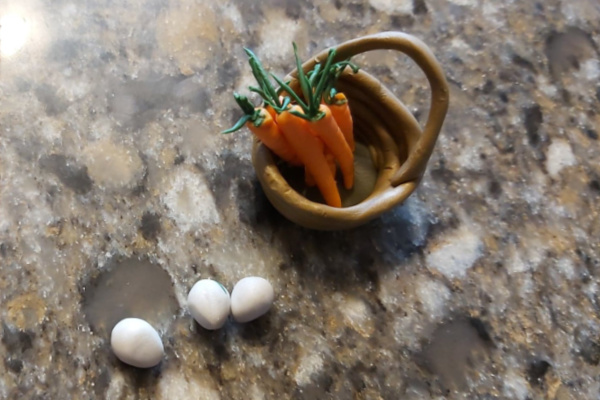
To make the onions and tomatoes, I followed the same process.
When your basket is as full as you like, follow the instructions on the polymer clay package for baking.
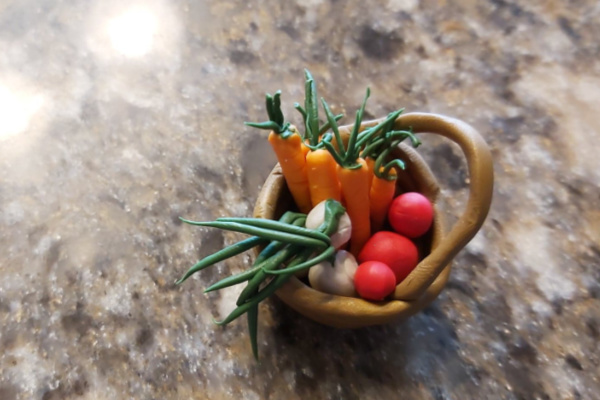
We made a basket of loose carrots, a basket of loose tomatoes, and basket of carrots, tomatoes, and onions.
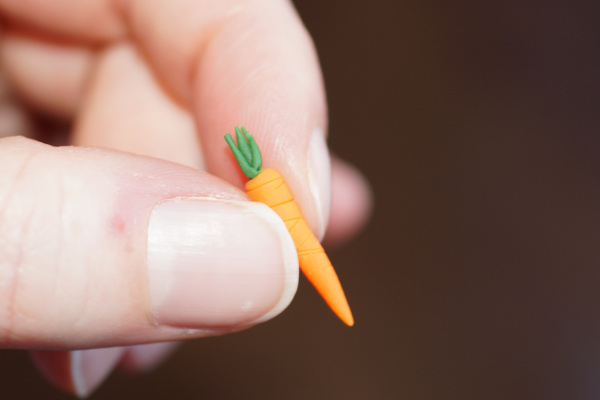

My kids think these miniature fairy garden vegetables are the most magical things ever! (They are not entirely UN-fragile, but I think teaching kids to be careful is part of the beauty of creating little tiny things. We create fairy gardens to learn, to enjoy, and to spend time together. If it costs a carrot or two, so be it!)
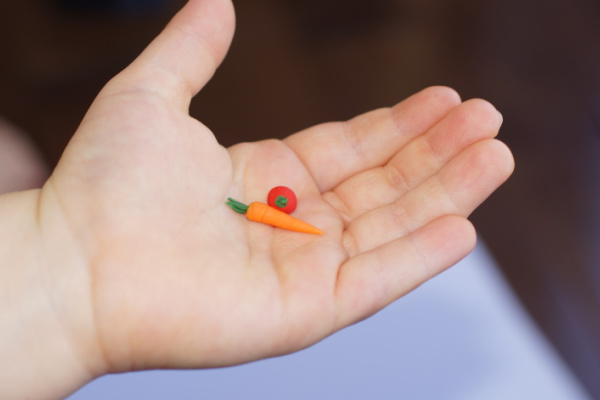
These itty bitty hands were SO excited to be allowed to hold the miniature polymer clay veggies… and after we get some photos of the veggies IN a fairy garden, they’ll even be allowed to PLAY with them LOL.
If you make some DIY polymer clay veggies, show me a picture!
LoL you forgot to show how to make leafs for the tomatoes, but I think I can figure it out.
Thanks these are so cute.
hahaha, sorry, sometimes I get into what I’m doing and forget to take pictures!
So sorry but I’m thinking these need to be baked?
yes! follow the instructions on your polymer clay! You can also get air dry clay, but I don’t know how that will stand up outside in the elements.
Can you use Playdoh?
Sure, but I think you’d have to seal them if you were going to put them outside… I don’t think dried playdough wants to get wet the way polymer clay does.